Ever since I had my daughter, pap has become a constant staple in our home. It’s always available because my children love it and eat it almost every day. But one thing I’ve noticed with store-bought pap is that you often find all sorts of dirt, ropes, and even tiny stones mixed in. Sometimes, the smell is off, and worse still, you may not discover it’s gone bad until you’re about to make it. These are some of the reasons that led me to decide to start making my own pap at home. I also wanted to ensure that the corn I used was free from GMOs because, as a mom, I don’t want to be feeding my children chemicals.
If you’re looking to make pap at home, I’ll walk you through a simple process using yellow corn. However, you can mix in millet, guinea corn, or even add ginger to make it richer and more flavorful.
Step 1: Get Your Corn Right
The first and most important step is to ensure you are using good-quality corn. I always make sure the corn I use is free from GMOs (genetically modified organisms), which can affect the nutritional value and taste. I got mine from my mother-in-law in Benin, where I know the source of the corn is natural and healthy. You can ask around for trusted local sources or buy from a market where they sell organic corn.
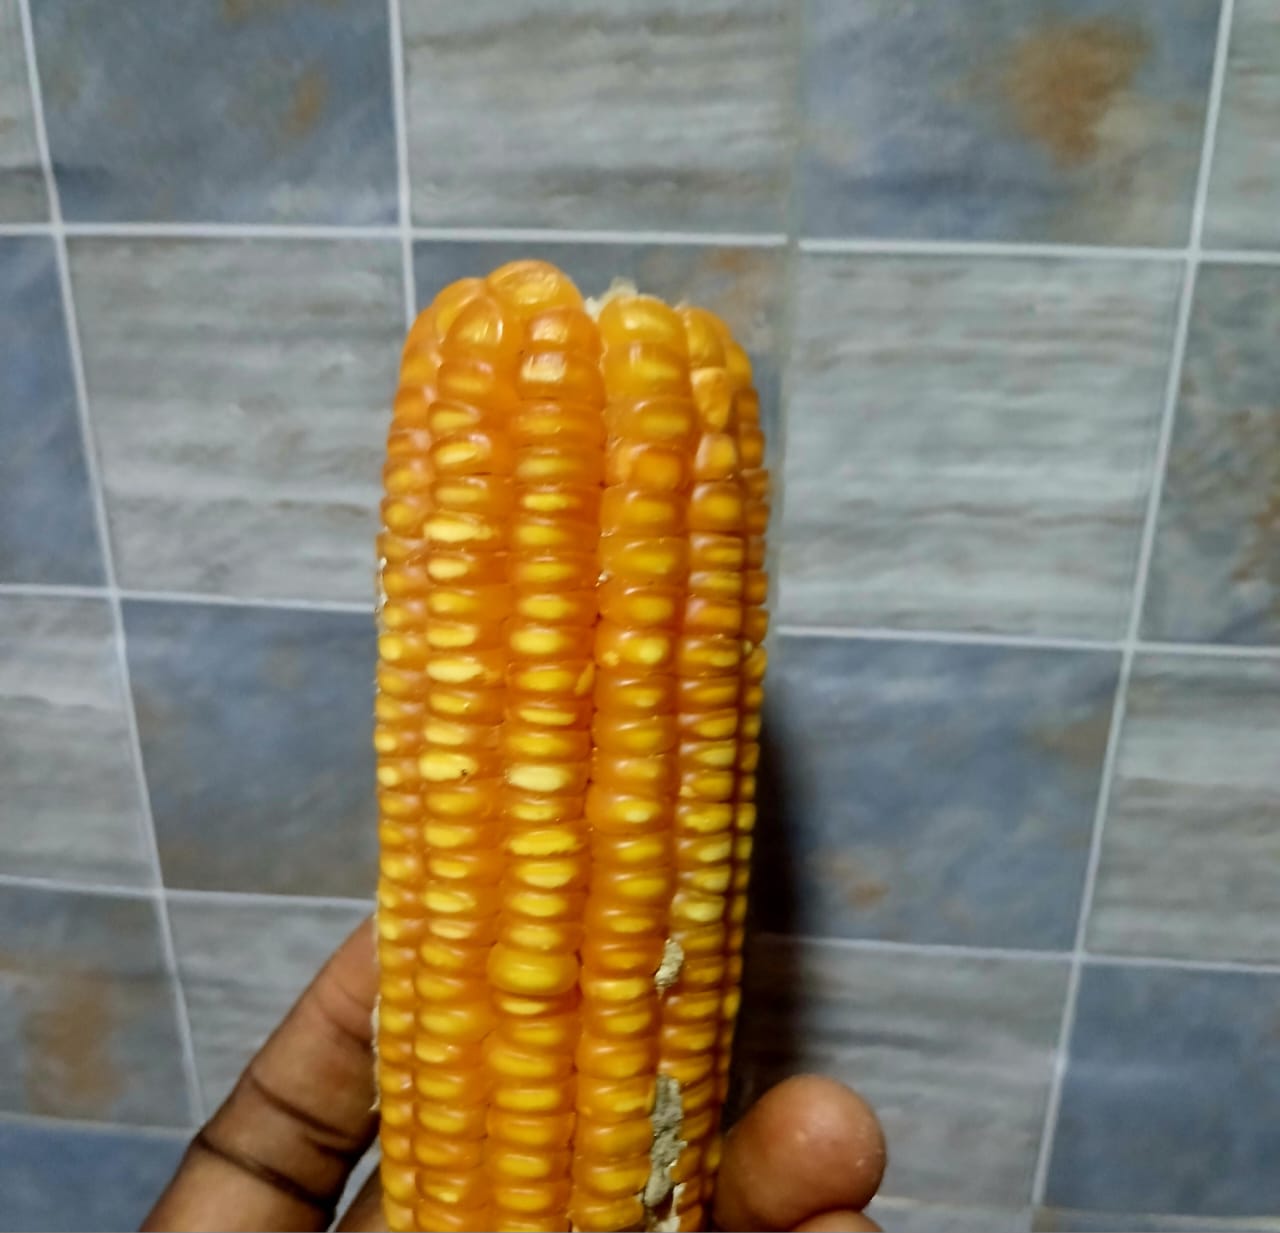
Here’s an image of the corn I set aside for planting. I didn’t get the opportunity to take pictures while peeling the ones I used, but this should give you a good idea!
Step 2: Prepare and Soak the Corn
Once you have your yellow corn, the next step is to prepare it for soaking:
- Rinse the Corn: Wash the corn thoroughly to remove any dirt or debris.
- Soak the Corn: Place the corn in a large bowl, cover it with enough water, and let it soak for 2 to 3 days. The soaking process is important for fermentation, which gives pap its unique taste and texture. Make sure to change the water every day to keep it clean and fresh.
Step 3: Blend the Corn
After the corn has soaked and softened, it’s time to blend it:
- Rinse the Corn Again: Drain the water and give the corn one last rinse.
- Blend Smoothly: Blend the soaked corn in small batches using a blender. Add enough water while blending to get a smooth paste.
- Alternative Option: If you don’t want to blend at home , you can take the soaked corn to the market for grinding. This is a common option and ensures a perfectly smooth consistency.

Step 4: Sieving the Blended Mixture
Now, this part is crucial to get the silky smooth texture of pap. Traditionally, a fine sieve or cheesecloth is used, but if you don’t have those, don’t worry—you can use a clean scarf or a regular flour sieve you have at home:
- Strain the Mixture: Pour the blended corn paste into the sieve or scarf over a bowl, and press it through. Add water gradually to help separate the liquid (pap) from the chaff.
- Repeat if Necessary: After sieving, you’ll have a liquid mixture. Let it sit for a few hours so the pap settles at the bottom and the water rises to the top. You can discard the water on top and repeat the straining process if needed to get it as smooth as possible.
Step 5: Store the Pap
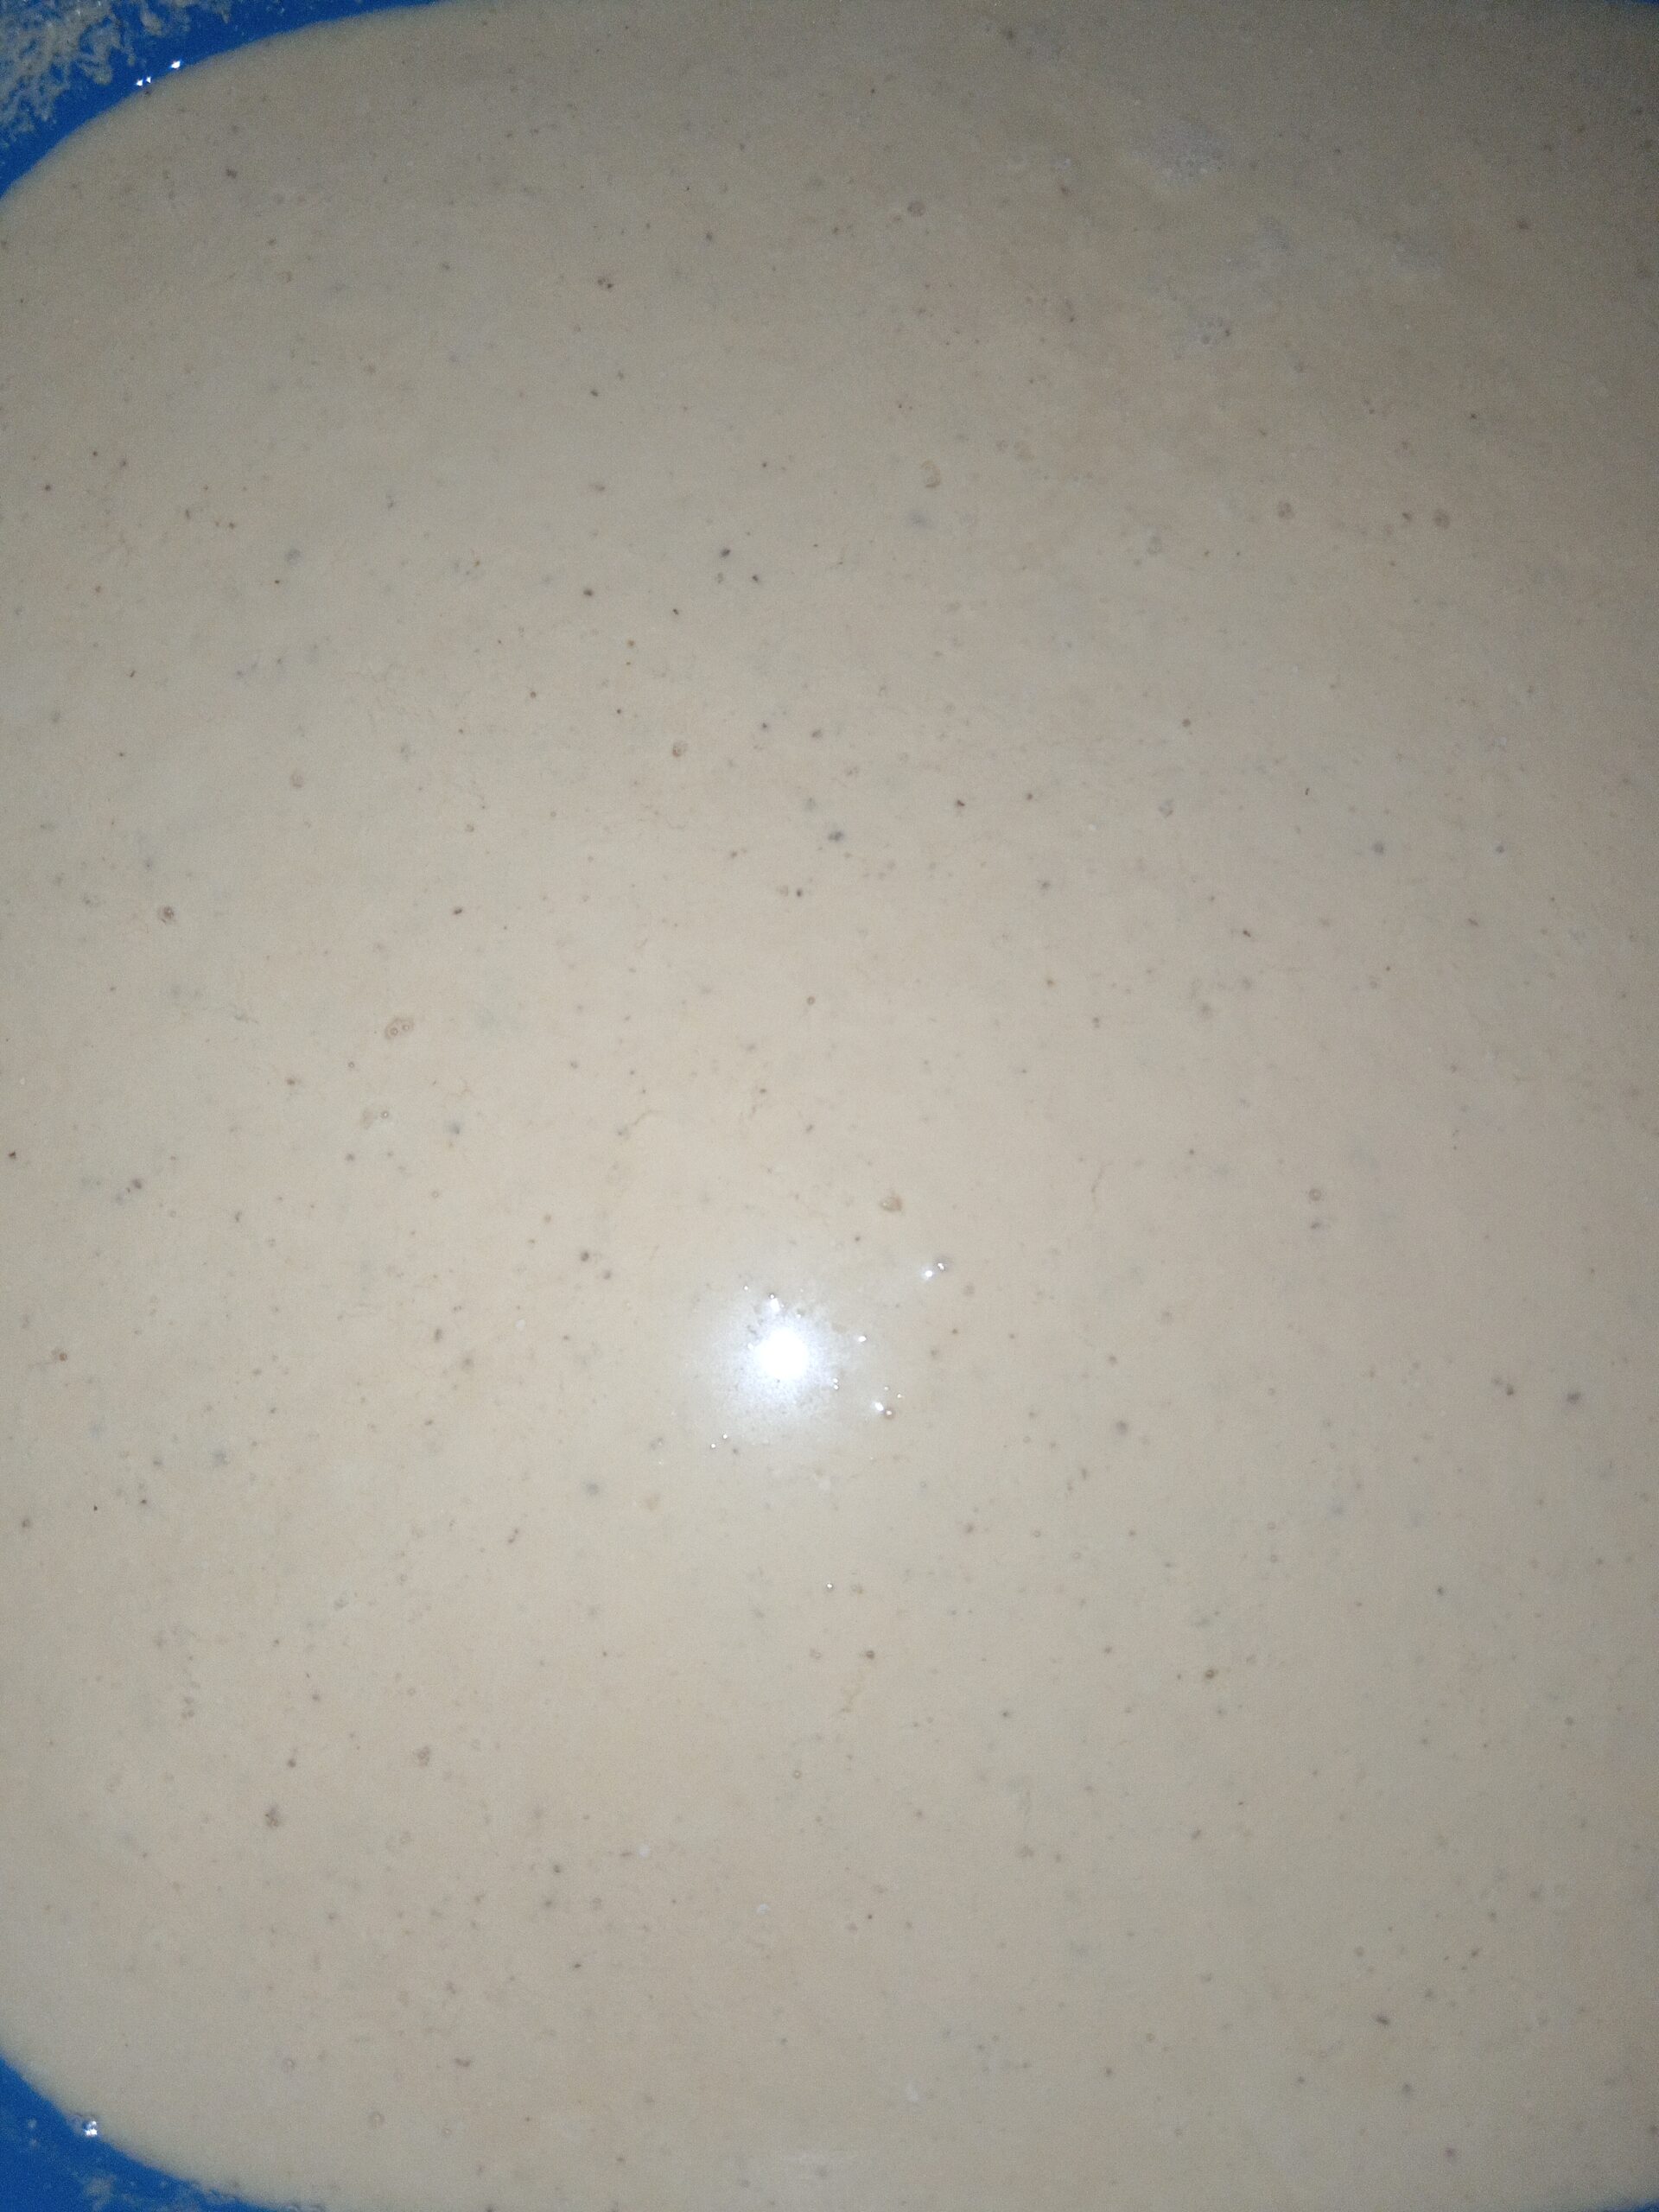
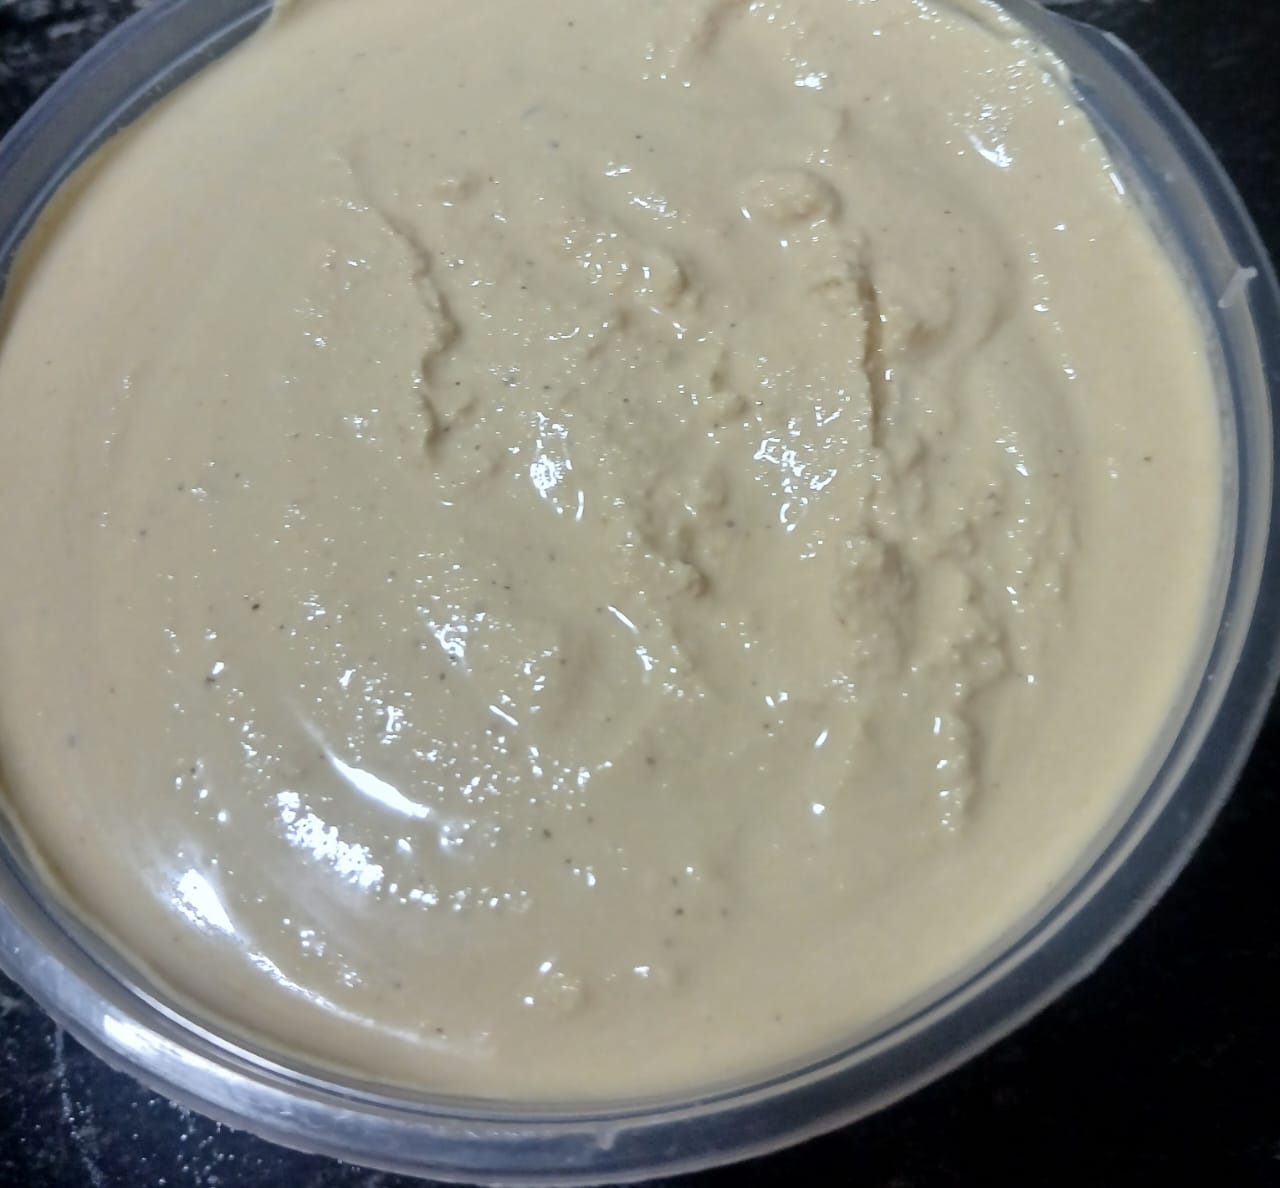
Once the pap has settled, drain the water on top, and you’ll be left with your homemade pap at the bottom. You can now store it in an airtight container in the fridge, where it can last weeks. if you want it to last even longer, you can store it in the freezer. This way, it stays fresh for months, and you can thaw small portions whenever needed.
Step 6: How to Cook Your Pap
When you’re ready to make pap for your family:
- Mix with Cold Water: Scoop the desired amount of pap into a bowl, and mix it with a little cold water to form a smooth paste.
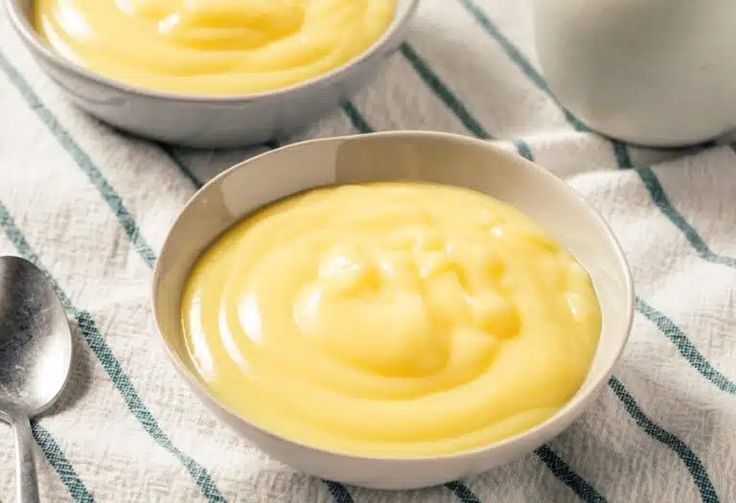
- Add Boiling Water: Gradually pour in boiling water while stirring continuously. You’ll notice the pap thickening as you stir. If you want thinner pap, add more hot water. For thicker pap, stir until it reaches the consistency you prefer.


